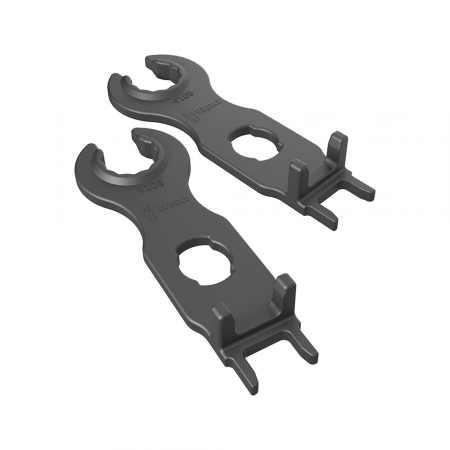
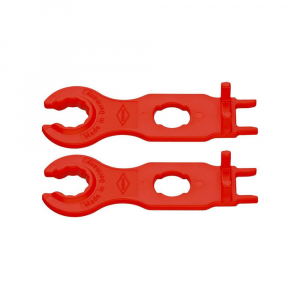
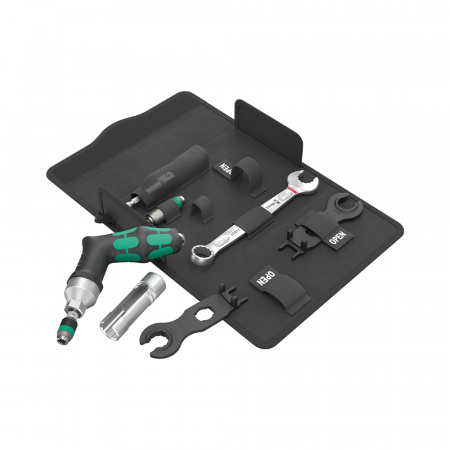
Voltaic panel installation tools
Display: 1-4 from 4 products
FiltersVoltaic Panel Installation Tools
- offer an essential and high-quality solution for various photovoltaic panel installation applications.
These tools are specially designed to ensure precise and efficient installation of photovoltaic panels, guaranteeing the system's durability and optimal performance.
Made from durable materials and equipped with advanced technology, photovoltaic panel installation tools are resistant to wear and ensure reliable performance under various usage conditions.
With
voltaic panel installation tools
, you can quickly and efficiently carry out various installation tasks, saving time and effort.
These tools are easy to use and portable, offering flexibility and adaptability for various photovoltaic panel installation projects.
The tools are available in different models and sizes, ensuring perfect compatibility with your needs.
Here are some situations where voltaic panel installation tools are very useful:
- Panel mounting - Use the tools to quickly and securely mount photovoltaic panels.
- Cable connection - These tools are ideal for efficient connection of the photovoltaic system's cables.
- System maintenance - The tools are essential for various maintenance and optimization projects of the photovoltaic system.
- Commercial and residential applications - Use the tools for the installation and maintenance of photovoltaic panels in commercial and residential environments.
These tools are specifically designed to ensure safe, efficient, and precise installation of solar panels in residential, commercial, and industrial environments.
Key Features:
- Specialized design: Optimized for working with aluminum frames, metal structures, and solar cabling.
- Durable materials: Made from stainless steel, lightweight alloys, and UV/weather-resistant components.
- Ergonomic grip: Comfortable, non-slip handles suited for extended use on rooftops or installations.
- Full compatibility: Suitable for MC4 connectors, solar wires, panel brackets, and mounting rails.
Main Applications:
- Solar panel mounting: Fastening and aligning panels securely on roofs or ground-based frames.
- Crimping and stripping: Tools for reliable solar cable termination and connection.
- Maintenance: Useful for replacing or adjusting parts in existing PV systems.
- Off-grid installations: Essential for building independent solar energy setups.
Advantages:
- Increased efficiency: Speeds up installation time and reduces manual labor.
- Precision: Ensures a proper and safe panel alignment for maximum performance.
- Safety: Includes insulated or voltage-protected tools for safer operation.
- Portability: Toolkits are compact and easy to carry across job sites.
Availability:
Voltaic panel installation tools are available at Sanco Grup in various kits or individual units, tailored for professionals in the renewable energy sector.
Choose quality tools to ensure reliable and long-lasting solar installations.


