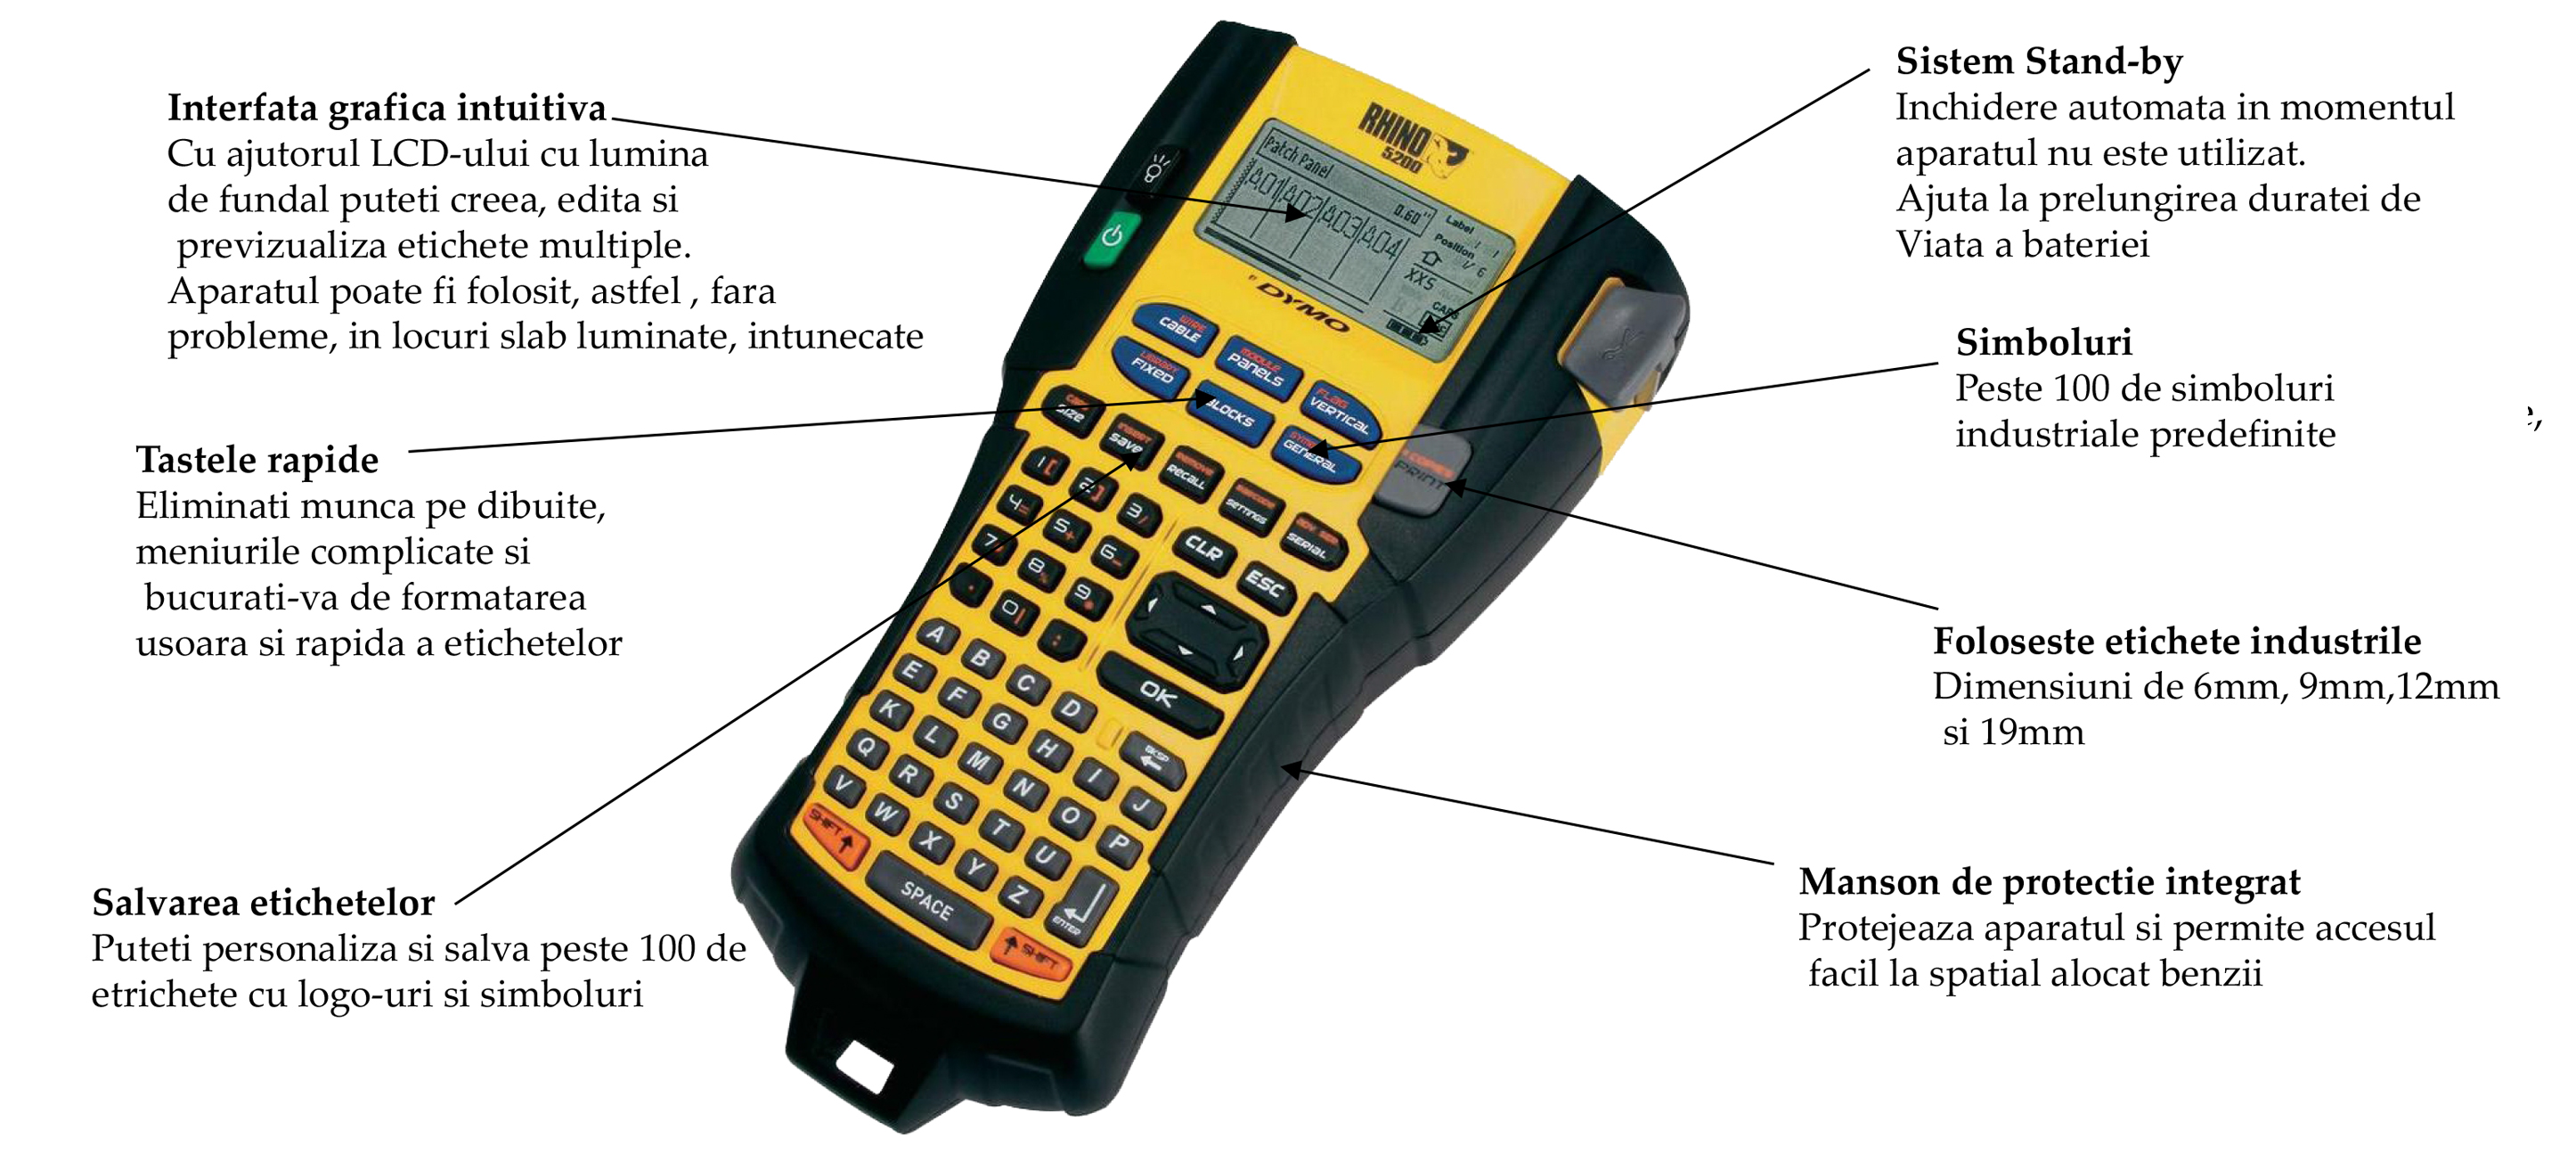
About DYMO RHINO 5200 Industrial Labeling Machine
Labels up to 77% faster
than most existing label printers on the market!

Benefits:
- Affordable in price compared to other similar
labeling machines
on the market.
- Equipped with Quick Keys to quickly and easily format labels, the DYMO RHINO 5200 labeled device provides users with no headache efficiency.
- Labels created with the DYMO RHINO 5200 industrial printer have professional appearance and industrial strength in harsh environments with humidity, excessive heat, UV rays, etc.
- At the touch of a single key you can select the type of label: patch panel, general labels, wires and cables, terminal blocks, barcodes, etc.
Utilizează benzi și tuburi termocantractante din diferite materiale de: 6 mm, 9 mm, 12 mm, 19 mm.

What do we lablel with DYMO RHINO 5200?
1. Create labels:
You can create labels for special industrial applications such as cable or wire labeling, flag labels, line labels, electrical panel labels, terminal blocks, 110-block or module labels in a very short space of time.
You can also create fixed-size labels. Hotkeys are available for each label type.
2. Creating labels for cables and wires:
You can create various types of labels that are wrapped in cables or wires.
3. Create a label for cables:
The label for cables is a label that is placed around a cable or wire. You can enter 5 lines of text, and the text will be repeated as many times as possible, depending on the size of the text and the length of the label.
You can select multiple dimensions of the cable diameter. Then your machine will determine the size of the label.
The list below shows the available selections:
CAT X CABLE 3.0 "
COAX CABLE 4.0 "
22-16 AWG CABLE 5.0 "
14-10 AWG (Default) CABLE 6.0 "
8-4 AWG FIBER 0.1 "- 1/4"
3-1 AWG FIBER 1/4 "- 1/2"
4. Creating fixed-size labels:
Normally, the size of the tag is determined by the size of the text you entered. However, you may want to create a label for a specific purpose, which is fixed in size, regardless of the size of the text you entered. The factory-set size is 1.0 "(25mm). Any other change you make to the fixed-size label remains in effect until you change the settings.
5. Creating Labels for Pach Panels:
You can create 2 types of banner labels. Labels for linear panels and labels for electrical panels.
6. Creating labels for linear panels:
A label for linear panels will allow you to tag a row of ports on a linear panel. You will select the distance between ports, enter the text and print. The result will be a long label with multiple, even spaced texts for each port.
7. Creating labels for electrical panels:
An electrical panel tag allows you to trim a row of columns for an electrical panel. You will select the size and number of columns, enter the text and print. The result will be a long tag with a text for each column.
8. Creating Labels 110 - Block:
You can print 110-block labels only with 3/8 "(9mm), 1/2" (12mm), 3/4 "(19mm) sizes.
9. Creating module labels:
A module tag will allow you to label a row of fuses of different sizes. Select the length of a fuse, number of fuses, enter the text for each fuse and print. You can use the fuse multiplier to adjust the length of individual modules as needed.
10. Using Bar Codes:
You can add barcodes to the following label types:
General Fixed
Patch panel for threads
Stealth mode for cables.
You can print a single barcode on the 3/4 "(19mm) width of the labels. You can choose to read legibly or stack barcodes, and the bar code prints horizontally along the label. by the barcode.
11. Adding a barcode:
The barcode appears on the screen like any other text. However, if the cursor is positioned within the barcode, the barcode and its type will be displayed in the legend bar.
12. Adding symbols:
Your device includes a set of symbols used to create your label. These symbols are divided into different categories:
Electrical Arrows
Voice / Data Numbers
Warning Home Electrical
Punctuation Currency
13. Label Serialization:
You can print consecutive numeric or alphabetic labels. The final numbers can be between 1-99 and the letters A to Z. You can serialize any number or letter by placing the cursor under the position to be enlarged, eg number 2 in 123 or letter B in ABC. For example, if you place the cursor under 2 in 123 and set increment # = 3, the labels will appear as follows: 123, 133 and 143. When letter Z or number 9 is reached during serialization, add a letter or number to increase the increment. For example, Z will be followed by AA and 9 followed by 10.
14. Printing on heat shrinkable tubes and non-adhesive inserts
You can print on thermosetting tubes or on non-adhesive inserts.

